

Key Takeaways
- A walkthrough is your chance to catch red flags before emotion overrides judgment.
- Structural and moisture issues are the costliest surprises - prioritize them.
- A formal home inspection is still essential even after a thorough walkthrough.
- Documenting what you observe with photos creates a record for negotiation.
- Deferred maintenance often signals how well the home has been cared for overall.
Summary
22 items · 45-90 minutes on-site
Why a Walkthrough Is More Than a Tour
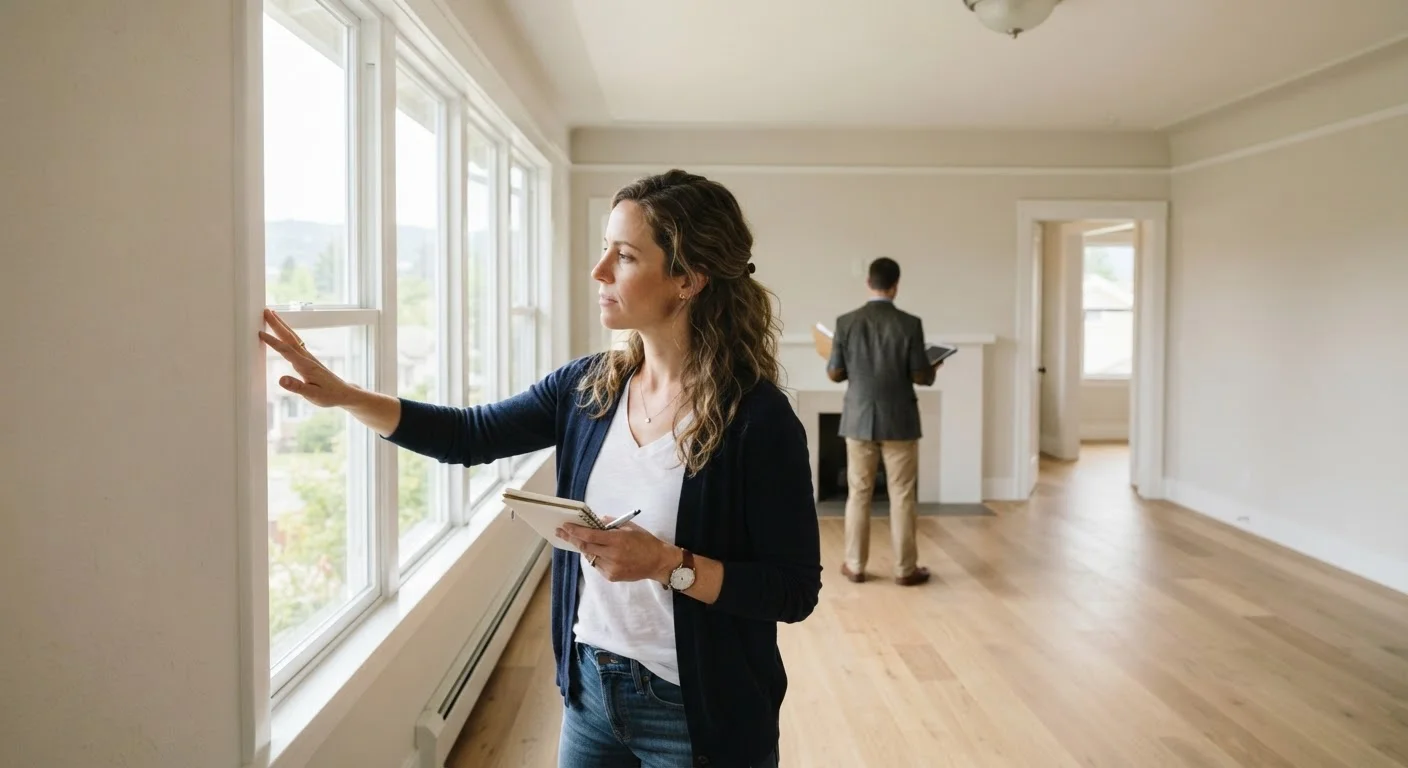
An open house or scheduled showing is designed to present a property in its best light. Staging, lighting, and fresh paint can all make it easy to overlook structural concerns or deferred maintenance. A deliberate walkthrough - one where you slow down and look critically - serves a different purpose: to gather information before you commit.
This checklist is not a substitute for a professional home inspection, which should always follow an accepted offer. It is a tool for identifying obvious deal-breakers, forming repair-cost estimates in your head, and deciding whether to proceed. Think of it as due diligence before due diligence.
For context on what comes immediately after, see our guide on making an offer on a house. And if this is your first purchase, first-time buyer lessons covers the missteps that catch new buyers off guard.
Flashlight or headlamp
Illuminate dark corners in basements, attics, closets, and under sinks where defects are easy to miss.
Smartphone with camera
Document every concern with dated photos you can reference during negotiation or when hiring inspectors.
Small marble or level
Test floor slope across rooms to detect structural settling that may not be visible to the eye.
Seller's disclosure statement
Cross-reference what sellers have disclosed against what you observe - discrepancies deserve follow-up.
Notepad or checklist printout
Track observations room by room so nothing is forgotten in the flow of a showing.
What to Examine Room by Room
Work through the home systematically rather than wandering. Start at the exterior, move through the basement or crawl space if accessible, then cover each floor from bottom to top. This order follows how water and structural stress typically travel through a home.
Exterior & Structure
Basement, Crawl Space & Attic
Plumbing & Water
Electrical & HVAC
Interior Surfaces & Windows
Fresh Paint or New Carpet Can Mask Problems
Cosmetic updates right before a listing are common and often legitimate, but they can also conceal water stains, odors, or damaged surfaces. If a freshly painted wall feels slightly soft or uneven to the touch, or if new carpet has an unusually strong adhesive smell in an isolated area, note it for your inspector. Never let a recent renovation discourage scrutiny - it's a reason for more, not less.
After the walkthrough, review your photos and notes while impressions are fresh. If repair costs seem significant, a contractor consultation before making an offer can help you gauge whether the numbers work. Our article on hiring a contractor outlines the right questions to ask before bringing anyone in for an estimate. For broader renovation context, explore the Home Improvement hub.
A Walkthrough Does Not Replace a Home Inspection
This checklist helps you identify surface-level red flags and decide whether to proceed. It does not replicate what a licensed home inspector can find. A qualified inspector examines systems in depth, uses calibrated tools, and produces a formal report - a document that can also support price negotiations or repair requests. Skipping a formal inspection, even in a competitive market, exposes buyers to significant financial risk.