

Key Takeaways
- Air leaks around windows, doors, and penetrations are a leading cause of energy waste in homes.
- Caulk works best for stationary gaps; weatherstripping suits moving parts like doors and operable windows.
- Expanding foam sealant fills large, irregular voids that caulk and weatherstripping cannot reach.
- A systematic draft inspection - using your hand, a candle, or incense - helps pinpoint every leak.
- Most sealing projects require only basic tools and can be completed in an afternoon.
What you will need
Why Air Sealing Matters More Than Many Homeowners Realize
Drafts aren't just uncomfortable - they're a direct pathway for conditioned air to escape and outdoor air to enter, forcing your heating and cooling system to work harder around the clock. Many homeowners assume new windows or more insulation are the first priorities, but unaddressed air leaks can undermine both. The U.S. Department of Energy notes that air leakage can account for a substantial portion of a home's heating and cooling energy use, making sealing one of the highest-return maintenance tasks available.
The good news: most of this work requires no specialized skills, costs far less than mechanical upgrades, and can be done room by room on a weekend. If you've ever wondered whether energy-efficiency upgrades are worth the effort, it's worth separating myth from reality - our guide on common myths about energy-efficient home upgrades covers which improvements actually deliver results.
Test Draft Locations on a Windy Day
Your inspection will be most effective when outdoor wind pressure is high. On a calm day, small leaks can be nearly undetectable. If possible, schedule your walk-through during or just after a cold, breezy day for the clearest results. Running a bathroom exhaust fan can also depressurize the house slightly, drawing air inward through gaps.
Below, we'll walk through how to find leaks and which sealing material belongs in each situation.
Choosing the Right Sealing Material
Not all gaps are equal, and using the wrong material is a common reason repairs fail prematurely. Here's a quick framework:
- Caulk - Best for stationary cracks and joints up to about ¼ inch wide: window and door frames meeting drywall, baseboards along exterior walls, plumbing and electrical penetrations through interior surfaces.
- Weatherstripping - Required wherever two surfaces move against each other: door edges meeting door stops, the bottom of exterior doors, operable window sashes.
- Expanding foam - Best for large, irregular voids that caulk can't bridge: gaps around pipes entering from outside, rim joists in basements, and any opening wider than ½ inch.
These materials are complementary, not interchangeable. A complete draft-sealing project typically uses all three in different locations.
Avoid Foam Near Heat Sources
Standard expanding foam sealant is not rated for use near fireplaces, flues, chimneys, or electrical panels where heat can accumulate. Use fire-rated (intumescent) caulk or foam specifically labeled for high-heat or fire-stop applications in those areas. Always read the manufacturer's product label before applying any sealant to confirm it is appropriate for your specific location.
Before you start buying materials, complete your inspection first (Step 1 in the guide below) so you purchase what you actually need rather than guessing.
What you will need
Caulk gun
Dispenses tube-form caulk at a controlled, steady rate along gaps and seams.
Paintable latex or silicone caulk
Seals stationary gaps around window and door frames, baseboards, and interior trim.
Self-adhesive foam weatherstripping
Compresses to form an airtight seal along the edges of doors and operable windows.
Expanding polyurethane foam (can)
Fills large or irregular gaps around pipes, wiring penetrations, and rim joists.
Utility knife or caulk removal tool
Removes old, cracked caulk before applying fresh material for a clean bond.
Flashlight
Illuminates dark corners, crawl spaces, and wall cavities where leaks hide.
Incense stick or thin tissue paper
Detects air movement near suspected leak points without needing special equipment.
Foam backer rod
Pre-fills wide gaps before caulking to reduce material use and improve seal depth.
Step-by-Step: Sealing Your Home From the Inside Out
Conduct a systematic draft inspection
Before buying any materials, walk every room and identify where air is infiltrating. On a cold or windy day, move slowly along exterior walls with your hand held a few inches from the surface. Pay close attention to window frames, door frames, electrical outlets on exterior walls, baseboards, and anywhere a pipe or wire passes through a wall.
For faint leaks, hold a lit incense stick or a thin strip of tissue near suspected areas. Movement in the smoke or paper indicates air flow. Mark every leak location with painter's tape so you don't lose track as you work.
Remove old or failed sealant
Fresh sealant bonds poorly over cracked, peeling, or dirty old material. Use a utility knife or dedicated caulk removal tool to scrape out deteriorated caulk along window and door frames. Pull away old weatherstripping that has flattened or torn. For adhesive residue, a plastic scraper and a small amount of rubbing alcohol will clean the surface without damaging paint or trim.
Allow surfaces to dry completely before proceeding, especially in bathrooms or basements where moisture may be present.
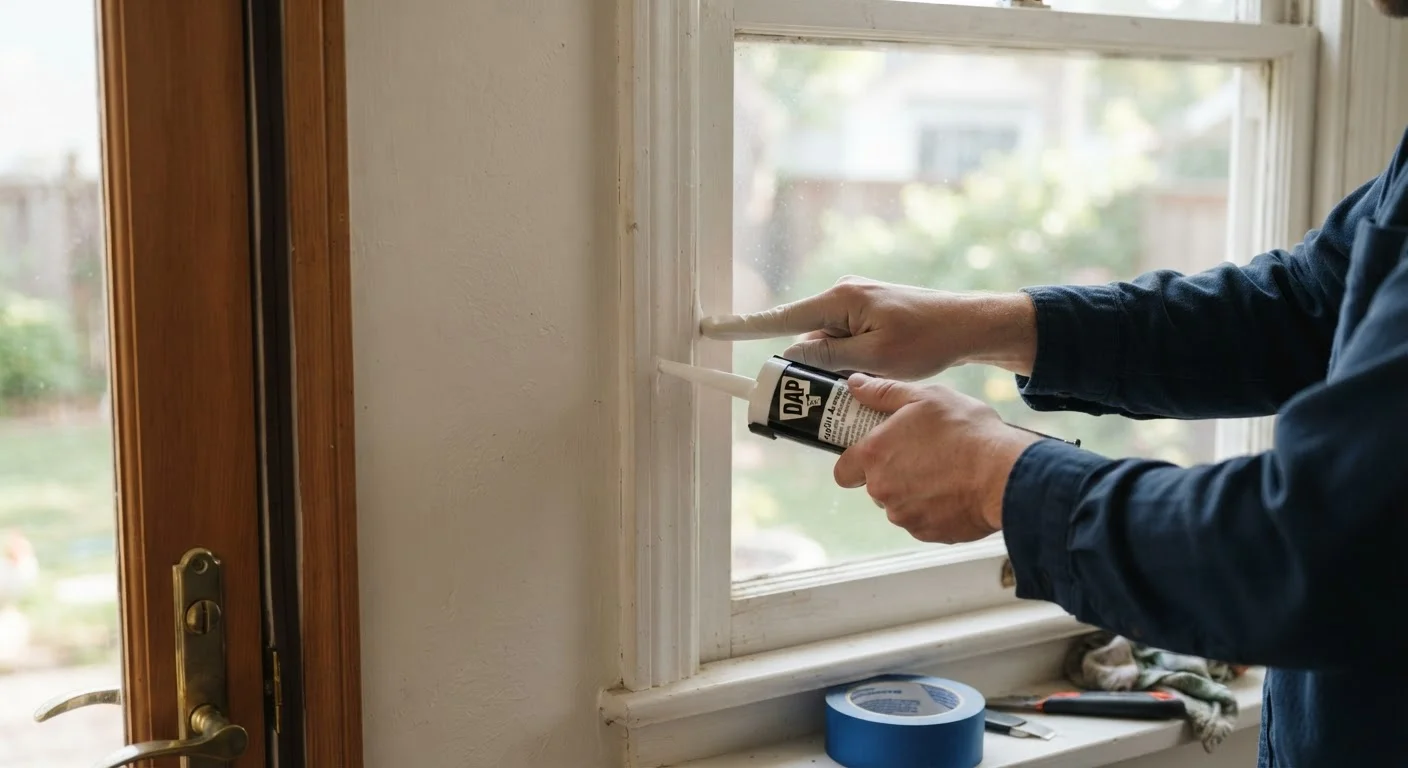
Caulk stationary gaps around frames and trim
Caulk is the right tool for any gap that does not move. This includes the joint between a window frame and the surrounding drywall or trim, the base of door casings, gaps where baseboards meet the floor on exterior walls, and penetrations where electrical wires or pipes enter a room.
Load your caulk gun and cut the tube tip at a 45-degree angle to match your gap width - typically 3-6 mm. Apply steady, even pressure as you draw the gun along the gap in one continuous pass. Smooth the bead immediately with a dampened finger or caulk tool. For gaps wider than about ¼ inch, press foam backer rod into the gap first so the caulk has proper depth support.
Install or replace weatherstripping on doors and windows
Unlike caulk, weatherstripping must survive repeated compression and movement. Common types include self-adhesive foam tape (easiest to install, shorter lifespan), V-strip (spring bronze or plastic, durable, fits channel gaps), and door sweeps (seal the gap at the bottom of an exterior door).
For a standard entry door, clean the door stop surface, measure the full perimeter, and cut your chosen weatherstripping to length. Press foam tape firmly into place or nail V-strip into the channel where the door contacts the frame. For the door bottom, attach a door sweep to the interior face of the door so it just grazes the threshold when closed - snug, but not dragging hard enough to impede opening.
Seal large voids with expanding foam
Expanding polyurethane foam is ideal for gaps too large or irregularly shaped for caulk - typically anything wider than ½ inch. Common locations include the space around pipes under a sink where they pass through an exterior wall, the rim joist area in an unfinished basement (the wood framing where the floor meets the foundation), and gaps around HVAC ducts entering conditioned space.
Shake the can well, attach the straw nozzle, and fill the gap about halfway - foam expands significantly as it cures. Allow it to cure fully (typically 1-2 hours for skin formation, 8-12 hours for full hardness), then trim the excess flush with a utility knife.
Seal electrical outlets on exterior walls
Electrical outlets and switch plates on exterior walls are surprisingly significant air leak points. Turn off the circuit at the breaker, remove the cover plate, and press a pre-cut foam gasket (available at hardware stores) over the outlet or switch box before replacing the cover. This adds a simple layer of insulation and wind-barrier without any tools beyond a screwdriver.
Do a final walk-through and touch-up
Once all materials have cured, repeat your draft inspection from Step 1. Pay attention to any areas where caulk cracked during curing (common if applied too thickly or over a dusty surface) and re-apply as needed. Check that doors and windows close and operate smoothly with the new weatherstripping in place - adjust any sweeps or strips that are creating excess friction.
Making this a seasonal habit - particularly before winter - keeps your sealing in good shape year over year. For a broader look at how targeted changes affect day-to-day comfort, see our guide to small upgrades with outsized impact.
After completing these steps, most homes will feel noticeably less drafty within a day. Gaps that once admitted a steady cold whisper near window sills or door frames should be effectively eliminated. Keep in mind that very old or poorly maintained homes may have deeper insulation or ventilation issues that go beyond surface sealing - in those cases, consulting a certified home energy auditor can help prioritize what to address next.
Check for Lead Paint and Asbestos in Older Homes
If your home was built before 1978, surfaces you plan to caulk may contain lead-based paint. Scraping old caulk in these areas can release hazardous dust. Consider having the area tested before disturbing existing materials, and follow EPA Renovation, Repair, and Painting (RRP) safety guidelines.