

Key Takeaways
- Repair method depends on hole size - nail holes, mid-size damage, and larger gaps each require different approaches.
- Proper surface preparation and feathering compound edges are essential for a seamless, invisible finish.
- Most drywall repairs require at least two coats of joint compound, with drying time between coats.
- Matching texture and paint sheen is the final step that determines how invisible the repair looks.
- Structural or large-section damage may require a licensed professional for safe, code-compliant results.
What you will need
Understanding Drywall Damage and What It Takes to Fix It
Drywall - the gypsum-panel system used in virtually every modern US home - is durable in many ways but vulnerable to impact, moisture, and fastener stress. The good news is that most cosmetic damage is entirely within reach for a prepared homeowner. The key is matching your repair method to the size and nature of the damage.
Nail and screw holes are the simplest repairs imaginable - a fingertip of spackling, a few hours of drying, a quick sand, and paint. Mid-size damage from doorknob strikes or accidental impacts requires a mesh patch and a few coats of joint compound spread over a couple of days. Larger damage - think fist-sized holes or sections damaged by water - requires cutting out the affected area cleanly and installing a replacement piece of drywall.
Understanding these tiers upfront prevents frustration. A mesh patch applied over a 10-inch hole will not hold reliably; a full backer-and-replacement approach applied to a screw hole is unnecessary effort. Choose the right method and the result will be nearly invisible.
Putty knife or drywall knife (3-6 inch)
Used to apply and smooth joint compound over small and medium patches.
Drywall saw or jab saw
Cuts clean edges around larger damaged areas before installing a backing patch.
Self-adhesive mesh patch
Provides a reinforcing base for mid-size holes (roughly 2-6 inches) without requiring additional framing.
All-purpose joint compound
The primary filling and finishing material for nearly all drywall repairs.
Sandpaper (120 and 220 grit)
Smooths dried compound between coats and prepares the final surface for paint.
Primer
Seals the repaired area so the finish paint adheres evenly and matches the surrounding sheen.
Stud finder
Locates framing and any hidden electrical or plumbing behind the wall before cutting.
Drywall screws and backer board
Secure a replacement drywall piece for larger repairs that require a full cut-out section.
Step-by-Step Repair Instructions
Follow the steps below in order regardless of hole size - the same principles of preparation, layered filling, and proper finishing apply at every scale. Materials and specific techniques will vary by damage type as noted within each step.
What you will need
Assess the damage and gather materials
Measure the damaged area carefully. Holes under about half an inch (nail or screw holes) need only spackling compound or lightweight filler. Holes from roughly 1 to 6 inches require a self-adhesive mesh patch and joint compound. Holes larger than 6 inches generally require a cut-out and a replacement drywall section secured to backing boards or studs.
Gather all materials before starting - having everything on hand prevents mid-project delays while compound dries on your knife.
Prepare the damaged area
Remove any loose paper facing, crumbled gypsum, or protruding fasteners around the hole. For larger repairs, use a drywall saw to cut the damaged section into a clean rectangle - straight edges are far easier to patch than irregular, torn openings. Lightly sand the perimeter of the damage so compound will bond to a clean surface.
Apply the appropriate patch backing
Small holes (under 1 inch): No backing needed. Proceed directly to filling with spackling or lightweight compound.
Medium holes (1-6 inches): Center a self-adhesive fiberglass mesh patch over the hole and press it firmly to the wall. The mesh gives compound a surface to grip without needing additional framing.
Large holes (over 6 inches): Cut a replacement piece of drywall to fit the opening. Attach horizontal backer boards (1×4 lumber works well) inside the wall cavity behind each open edge, screwing through the existing drywall into the backer. Then screw the replacement piece into the backers using drywall screws, setting screw heads just below the surface without breaking the paper.
Apply the first coat of joint compound
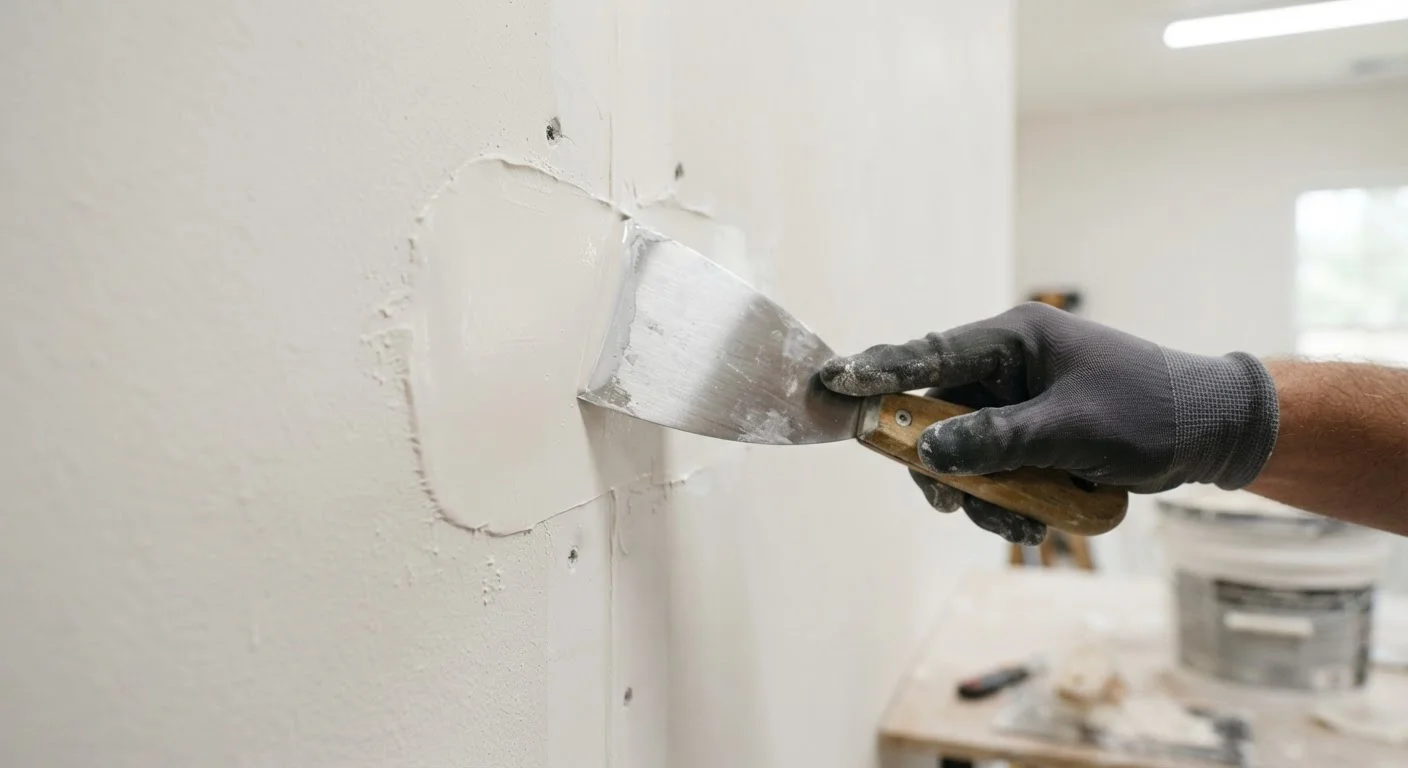
Using a 4-6 inch drywall knife, spread a thin, even coat of all-purpose joint compound over the patch or filled area. For mesh patches, press compound firmly through the mesh fibers. For large patches, tape the seams with paper drywall tape embedded in a thin bed of compound before applying the full coat. Feather the edges outward several inches beyond the patch boundary.
Allow the first coat to dry completely - this typically takes 12 to 24 hours depending on humidity and coat thickness.
Sand and apply additional coats
Once the first coat is fully dry, sand lightly with 120-grit sandpaper to knock down ridges. Wipe away dust with a slightly damp cloth. Apply a second coat, feathering it even wider than the first. Most repairs need two to three coats total, with sanding between each. The final coat should be thin and very smooth. Finish with 220-grit sandpaper for a surface-ready result.
Prime, texture (if needed), and paint
Apply a coat of drywall primer to the repaired area before painting. This seals the compound's porous surface so paint absorbs evenly - skipping this step almost always results in a dull, flat patch that stands out even when the color matches perfectly.
If your walls have a texture (orange peel, knockdown, or skip trowel), replicate it using spray texture or a texturing technique before priming. Practice on cardboard first. Once primed and dry, paint with a roller using the same sheen as the surrounding wall.
Check for Hidden Hazards Before Cutting
Before cutting into any wall, verify there are no electrical wires, plumbing pipes, or gas lines behind the drywall. Use a stud finder with AC detection or a wire tracer. Cutting into live wiring or a water pipe is dangerous and costly. If you are unsure, consult a licensed electrician or plumber before proceeding.
Do Not Skip Drying Time
Joint compound that has not fully dried will crack or peel after painting. Do not speed up drying with a heat gun on thick coats - it causes surface cracking while the interior stays wet. Wait until the compound is uniformly white and no longer cool to the touch before sanding or applying the next coat.
Feathering Is the Secret to Invisible Repairs
The most common mistake homeowners make is applying compound in a thick, blunt-edged blob. Instead, feather each coat outward several inches beyond the patch edge, thinning gradually. This gradual transition blends seamlessly under paint and eliminates the telltale bump that reveals amateur repairs.