

Key Takeaways
- Surface preparation - not paint quality alone - determines how long a finish lasts.
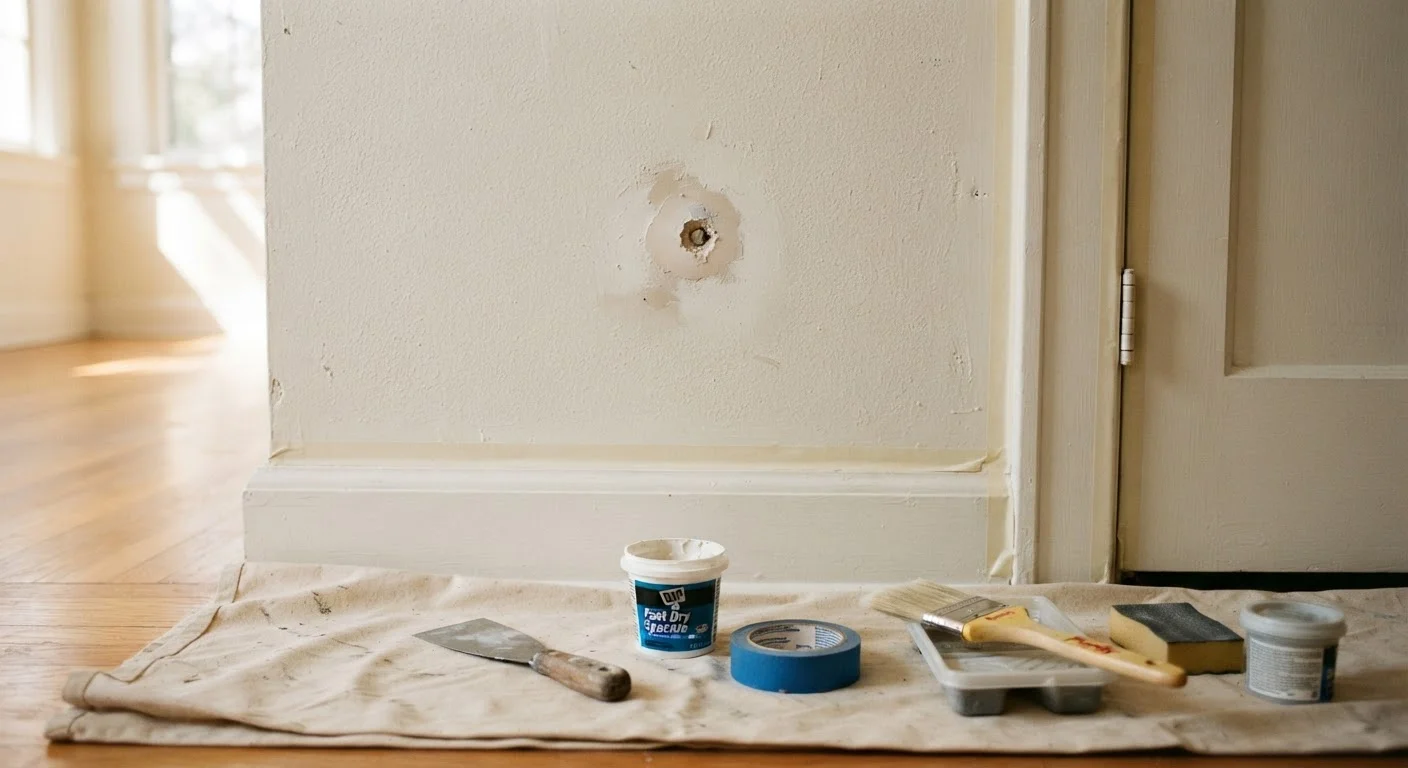
- Patching holes and sanding imperfections before painting prevents visible flaws in the finished wall.
- Primer seals porous surfaces and improves adhesion, reducing the number of topcoats needed.
- Proper taping and protecting surfaces saves cleanup time and protects trim from bleed-through.
- Allowing adequate drying time between each step prevents bubbling, peeling, and poor adhesion.
Why Prep Work Defines the Final Result
Most paint failures - peeling edges, visible patches, uneven sheen - trace back not to the paint itself, but to skipped preparation steps. Professional painters routinely spend more time preparing a room than actually applying color. That ratio surprises many homeowners, but it reflects a simple truth: paint is a coating, not a concealer. It will faithfully reveal every crack, dent, dust particle, and oil smudge underneath it.
Understanding this reframes the entire project. Instead of rushing to open the can, plan to invest real time in cleaning, repairing, and priming - and the topcoat application becomes almost straightforward.
“The preparation is the painting. By the time you pick up the roller, most of the skilled decisions have already been made.”
— Bob Vila, Home improvement educator and host of This Old House
The Core Best Practices for Wall Preparation
Follow these proven steps to prepare walls the way experienced painters do, regardless of the room size or paint color involved.
Clean every wall surface thoroughly before any other step.
Grease, dust, and household residue prevent primer and paint from bonding correctly. Even walls that look clean often carry enough contamination to cause adhesion failure. A thorough wash eliminates this invisible risk.
Fill every hole, crack, and dent with the appropriate patching compound.
Paint does not bridge gaps or fill voids - it simply coats whatever surface it touches. Unfilled imperfections will shadow through even multiple topcoats, becoming more visible once sheen is added. Addressing them before painting is the only reliable fix.
Sand patched areas and any glossy surfaces before priming.
Dried patching compounds often sit slightly proud of the surrounding wall or develop a hardened crust. Sanding levels these areas flush and creates a mechanical tooth that helps primer and paint adhere. Glossy existing paint also needs scuffing so the new coat grips rather than slides.
Apply primer to all repaired areas and any raw or porous surfaces.
Primer seals porous materials like bare drywall and patched spots, which would otherwise absorb paint unevenly and produce dull, blotchy areas known as 'flashing.' It also improves topcoat adhesion across the entire wall, reducing the number of finish coats required.
Use quality painter's tape and apply it carefully along all edges.
Tape protects trim, ceilings, and outlets from paint bleed while creating crisp, clean lines. Poorly applied or low-quality tape lets paint seep underneath, creating more cleanup work than painting freehand would have required.
Allow every layer - patch, primer, and paint - to dry fully before adding the next.
Painting over incompletely dried layers traps moisture, which causes bubbling, peeling, and poor adhesion over time. Each product has a stated dry time on its label, and ambient humidity or temperature can extend those times significantly.
Quick Wins You Can Do Before Opening the Paint Can
Even if you're working with limited time, these fast actions will meaningfully improve your results and reduce rework later.
Putting It All Together: Preparation as a System
Each prep step builds on the last. Cleaning first ensures patching compounds adhere well. Sanding after patching creates a flush, consistent surface. Priming after sanding seals both old and repaired areas uniformly, so paint lays down evenly. Taping last - after priming and before topcoats - means tape adheres to a smooth, sealed surface rather than raw drywall.
80%
Of paint job time spent on prep by professionals
Experienced painting contractors commonly report that surface preparation accounts for the majority of total project labor time on interior repaint jobs.
3-5 years
Extra lifespan from properly primed surfaces
Industry guidance from paint manufacturers generally suggests that properly primed and prepared walls can extend a finish's useful life by several years compared to unprepared surfaces.
Rushing or reordering these steps introduces compounding problems. A wall painted without priming may show sheen differences over patches. Tape applied to unprepared walls pulls away texture when removed. By treating preparation as an interconnected system rather than a checklist of shortcuts, homeowners consistently achieve results that hold up over years, not months.
Invest the time upfront. The paint will do the rest.
Don't Skip the Raking Light Test
Before you prime, hold a bright flashlight parallel to each wall surface in a darkened room. Shadows will reveal dents, ridges, and imperfections invisible under regular overhead lighting. Catching them now costs only a few minutes of patching; missing them means they'll be highlighted - not hidden - by your fresh paint.