

Key Takeaways
- Skipping surface prep is the single most common cause of tile failure and cracking.
- Mixing mortar incorrectly or letting it skin over leads to weak, hollow-sounding tiles.
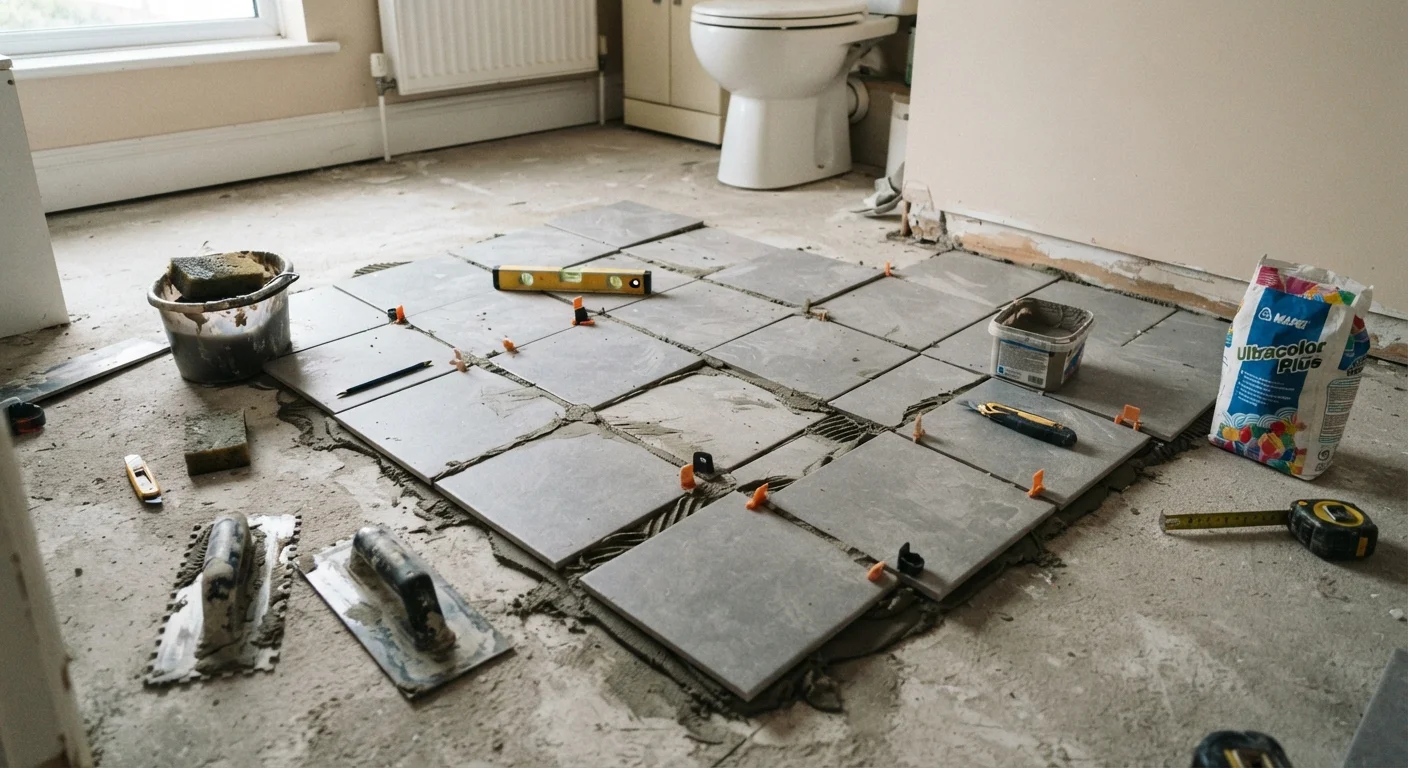
- Layout planning before any tile is set prevents awkward cuts and misaligned patterns.
- Grout spacing, timing, and sealing are just as critical as the tile-setting itself.
Why Tile Projects Punish Shortcuts
Tile installation looks deceptively straightforward - measure, cut, set, grout. But the gap between a professional-looking result and a floor that cracks or shifts within months often comes down to decisions made before a single tile is placed. Unlike painting a wall, tiling is largely unforgiving: mistakes get locked in place under hardened mortar, and fixing them usually means tearing everything out.
The good news is that the errors that derail most first-time tile jobs follow recognizable patterns. Understanding them in advance is the most powerful thing you can do to avoid them. Just as recipe failures often trace back to a few recurring mistakes, tiling problems almost always have identifiable, preventable root causes.
Failing to properly prepare the substrate before setting tile.
Why it happens: First-timers often focus on the tile itself and overlook what's underneath. A surface that flexes, has high spots, or retains moisture will cause tiles to crack or debond over time.
Skipping a dry layout before committing to adhesive.
Why it happens: Eager to see progress, many people start tiling from one wall and discover too late that the last row ends in an embarrassingly narrow sliver, or that the pattern is visually off-center.
Mixing mortar too wet, too stiff, or letting it skin over before setting tile.
Why it happens: Bag instructions are sometimes misread, or installers mix by feel without measuring water. Mortar that skins over - even slightly - loses its bond strength, leaving hollow spots beneath tiles.
Ignoring lippage - the height difference between adjacent tile edges.
Why it happens: Lippage is easy to miss while setting tiles one at a time, especially with large-format tiles on a slightly uneven surface. It creates a trip hazard and makes grout lines look messy.
Grouting too soon or applying grout incorrectly.
Why it happens: Impatience leads installers to grout before mortar has fully cured, causing tiles to shift. Poor grout technique - not packing joints fully or wiping too aggressively - leaves weak, pitted lines.
Forgetting to seal grout and natural stone tiles after installation.
Why it happens: Many first-timers consider the job done once grouting is complete, unaware that unsanded and sanded grouts both require sealing to resist staining and moisture penetration.
Setting Yourself Up for a Lasting Result
Most of the mistakes above share a common thread: they stem from rushing the process or underestimating the preparation phase. Tile is a long-term investment in your home, and the substrate work, layout dry-run, and mortar technique that happen before any adhesive is applied will determine whether that investment pays off.
~70%
Tile failures traced to substrate or prep issues
Industry tile installers and trade educators widely attribute the majority of premature tile failures to inadequate surface preparation rather than material defects.
24-48 hrs
Typical mortar cure time before grouting
Most polymer-modified thinset mortars require at least 24 hours of cure time in normal conditions before grout can be safely applied without disturbing the set.
If your project scope is large - a full bathroom renovation, a kitchen floor, or a multi-room installation - it's worth weighing whether professional help makes sense for at least part of the job. If you do hire out, know the right questions to ask any contractor before work begins so you can evaluate their process and protect yourself. For those tackling it solo, patience and a willingness to dry-fit, check, and re-check at every stage are what separate a durable installation from one that fails prematurely.
Wet Areas Require Extra Caution
Tiling in showers, around tubs, or on floors subject to standing water involves waterproofing requirements that go beyond standard substrate prep. Inadequate waterproofing can cause water intrusion into wall cavities, leading to mold, structural damage, and costly remediation. For wet-area installations, consult local building codes and consider whether licensed professional involvement is appropriate.