

Key Takeaways
- Bodyweight training can build genuine strength, endurance, and mobility without any equipment.
- Progressive overload - gradually increasing difficulty - is the key principle behind long-term results.
- A handful of fundamental movement patterns cover the whole body efficiently.
- Consistency over intensity matters most, especially when starting out.
- Bodyweight training is scalable: exercises can be made easier or harder to match your current level.
What you will need
Why Bodyweight Training Works
A common misconception is that bodyweight training is a placeholder until you can access "real" equipment. Research doesn't support this view. Studies on resistance training consistently show that the stimulus for muscle adaptation - mechanical tension and progressive challenge - can be created through bodyweight movements just as through free weights or machines. What matters is whether the exercise is sufficiently challenging for the individual performing it.
Bodyweight training also has practical advantages: no travel time, no cost, and no scheduling around a facility. These friction-reduction factors meaningfully increase how often people actually train. Our article on exercise myths explores why the idea that you need a gym to get fit persists despite limited evidence.
That said, bodyweight training does have real limitations. Loading the posterior chain (lower back, glutes, hamstrings) heavily with bodyweight alone is more challenging than with free weights, and maximum strength gains at advanced levels typically require external load. If weighted training is a goal for you, our introduction to strength training covers how to transition.
What you will need
What You'll Need and How to Get Started
The barrier to entry is deliberately low. Most people can begin with nothing beyond floor space and their own body. Optional tools can make sessions more comfortable but are not required.
Exercise mat or folded blanket
Provides cushioning for floor-based movements like planks, push-ups, and core work.
Timer or interval app
Helps structure work-to-rest periods accurately during timed circuits.
Sturdy chair or low table
Used to modify push-up angle for beginners or support single-leg balance exercises.
Before jumping into the steps below, take a few minutes to assess your current baseline. Can you do a full squat to parallel with your heels flat? Can you hold a push-up position without your hips sagging? These simple checks tell you where to start - not to judge fitness, but to match difficulty to your actual capacity today.
For context on how exercise needs evolve over time, the guide to physical activity across every decade is a useful companion resource.
Consult a Professional Before Starting
This article provides general fitness education, not personal medical advice. If you have an existing injury, chronic condition, or have been inactive for an extended period, speak with a qualified healthcare provider before beginning a new exercise routine. This is especially important for older adults and those managing health conditions.
Step-by-Step: Building Your Bodyweight Routine
Learn the six foundational movement patterns
Effective bodyweight training is built around six movement categories that together work the entire body: squat, hinge, push, pull, carry/brace (core stability), and single-leg movements. You don't need dozens of exercises - just one or two quality movements in each category.
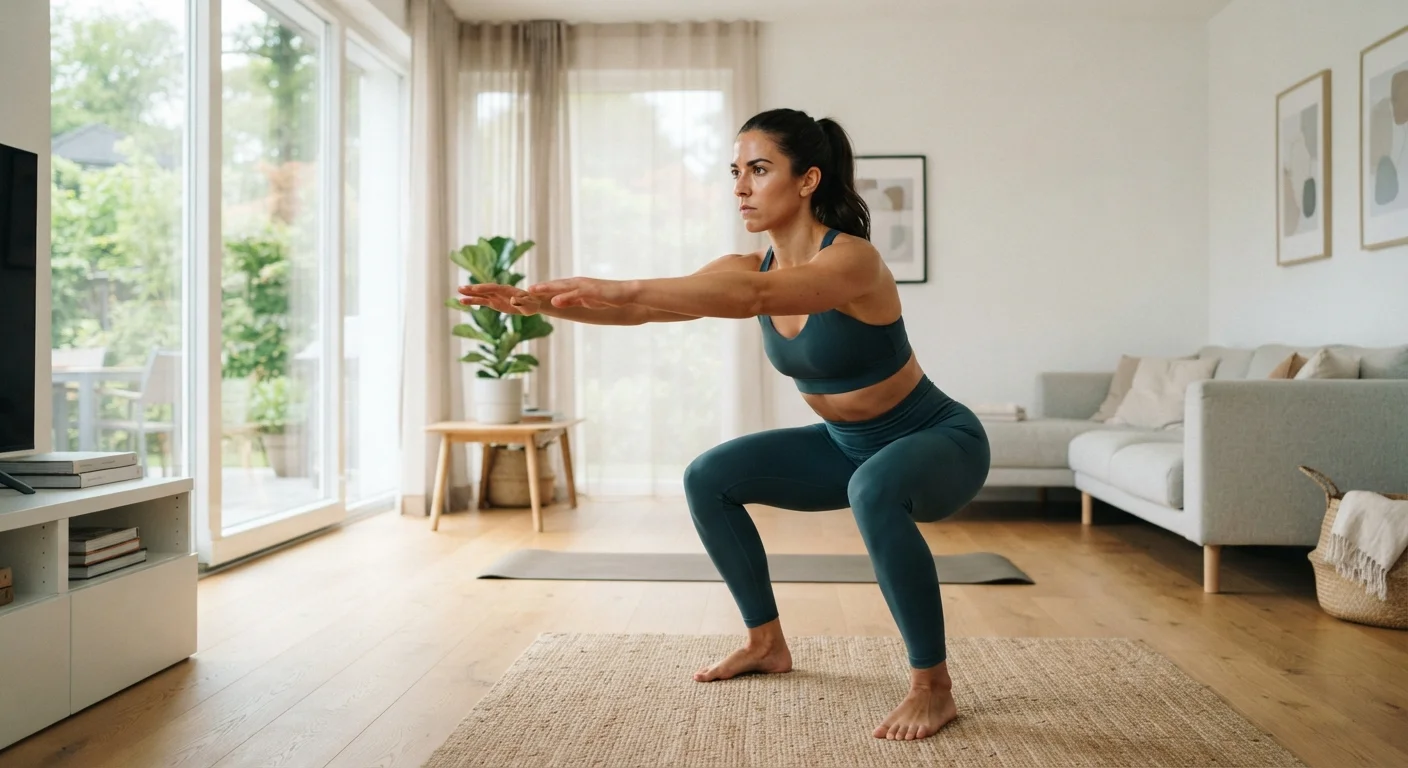
- Squat: Bodyweight squat, sumo squat
- Hinge: Good morning, single-leg deadlift
- Push: Push-up, incline push-up
- Pull: Inverted row under a table, door-frame rows
- Core brace: Plank, dead bug
- Single-leg: Reverse lunge, step-up
Establish your starting difficulty honestly
Choosing the right variation matters more than choosing the most impressive one. If you cannot complete 8-10 slow, controlled reps of a movement without form breaking down, that variation is too advanced right now. Use a regression (easier version) until the pattern feels solid.
A useful benchmark: you should be able to hold a plank for 20-30 seconds with a flat back and no hip sagging before progressing to more demanding core work.
Structure a simple full-body session
For most beginners, two to three full-body sessions per week with at least one rest day between them is an evidence-supported starting point. A straightforward session structure:
- Warm-up (5 min): Light movement like marching in place, arm circles, hip rotations
- Main work (15-20 min): 2-3 sets of 8-12 reps per exercise, covering push, squat, hinge, and core
- Cool-down (5 min): Gentle stretching focused on hips, chest, and hamstrings
You don't need long sessions. Thirty minutes of focused, consistent effort produces real adaptation over time.
Apply progressive overload week over week
Progressive overload means systematically making your training slightly harder over time so your body continues to adapt. Without it, training plateaus quickly. With bodyweight, you can progress by:
- Adding reps (e.g., 3×8 → 3×12)
- Adding sets (e.g., 2 sets → 3 sets)
- Slowing the tempo (e.g., 3-second descent on a squat)
- Reducing rest time between sets
- Moving to a harder variation (e.g., incline push-up → standard push-up → close-grip push-up)
Aim to make one small improvement per session or per week - not multiple at once.
Build the habit alongside the training
Physical adaptation requires consistency over weeks and months, not heroic single efforts. Scheduling sessions like appointments, keeping them short enough to feel manageable, and tying movement to an existing routine (such as exercising right after waking or before lunch) all improve follow-through.
For a deeper look at the behavioral side of staying consistent, see our guide to building a workout habit that actually sticks.
Track Reps, Not Just Effort
Keeping a simple log - even a notes app on your phone - lets you see whether you're doing more reps or sets week over week. This concrete evidence of progress is a powerful motivator and helps you apply progressive overload intentionally rather than guessing.
Avoid Rushing Progression
Moving too quickly to harder variations before mastering foundational form is a common cause of overuse injuries. If an exercise feels unstable or produces sharp pain, stop immediately and return to an easier regression. Soreness and muscle fatigue are normal; joint pain is not.
Once you've been consistent for four to six weeks and basic movements feel stable, you can explore whether adding resistance - such as a resistance band or weighted backpack - makes sense for your goals. The research on cardio vs. strength training can also help you decide how to balance different types of effort as your fitness develops.
This article is for general informational and educational purposes only and does not constitute medical or fitness advice tailored to your individual circumstances. Consult a qualified healthcare or fitness professional before beginning any new exercise program.