

Key Takeaways
- Working room by room prevents overwhelm and produces visible, motivating results quickly.
- A simple keep, donate, discard system helps you make decisions without second-guessing.
- High-traffic areas like kitchens and entryways benefit most from regular decluttering cycles.
- Maintenance habits matter more than big purges - small, consistent effort keeps spaces functional.
- Certain household spots are easy to overlook; targeted attention prevents clutter from creeping back.
What you will need
Why a Room-by-Room Approach Works
Whole-home decluttering projects fail most often because they start too broadly. Pulling everything out of an entire house at once creates chaos that's hard to navigate - and when energy runs low, items get hastily returned rather than genuinely sorted. A room-by-room approach produces visible results quickly, which builds the momentum needed to keep going.
Each room also has its own logic. The kitchen is about function and frequency of use. The bedroom is about rest and routine. Storage areas are about genuine future need. Treating each room as its own project lets you apply the right criteria instead of using a one-size-fits-all standard.
If you're looking for a structured framework to guide your decision-making within each room, the comparison of popular decluttering methods - including the four-box system and FIFO approach - can help you find what fits how you think.
Labeled sorting boxes or bins
Separate items into Keep, Donate, and Discard piles as you work through each room.
Trash bags (heavy duty)
Collect items for disposal without tearing mid-session.
Sticky notes or masking tape
Temporarily label boxes and shelves to maintain organization during the process.
Cleaning supplies (cloth, all-purpose spray)
Wipe down surfaces once items are cleared - decluttering and cleaning in one pass saves time.
How to Work Through Each Room
Before you begin, gather your sorting materials and set a clear time limit. Use the steps below to move through your home in a logical sequence - starting with high-traffic areas and finishing with longer-term storage zones.
What you will need
Start with the entryway
The entryway sets the tone for the entire home. Clear shoes that don't belong to the current season, remove coats that haven't been worn in months, and empty any catch-all bowls or hooks of items that should live elsewhere. A functional entryway should hold only what you use on a near-daily basis.
Tackle the kitchen
Open every cabinet and drawer. Pull out duplicates - most households have far more spatulas, mugs, and food storage containers than they need. Check expiry dates on pantry items and discard anything past its use-by date. Evaluate small appliances honestly: if it hasn't been used in over a year, it's a candidate for donation.
Move through the living room
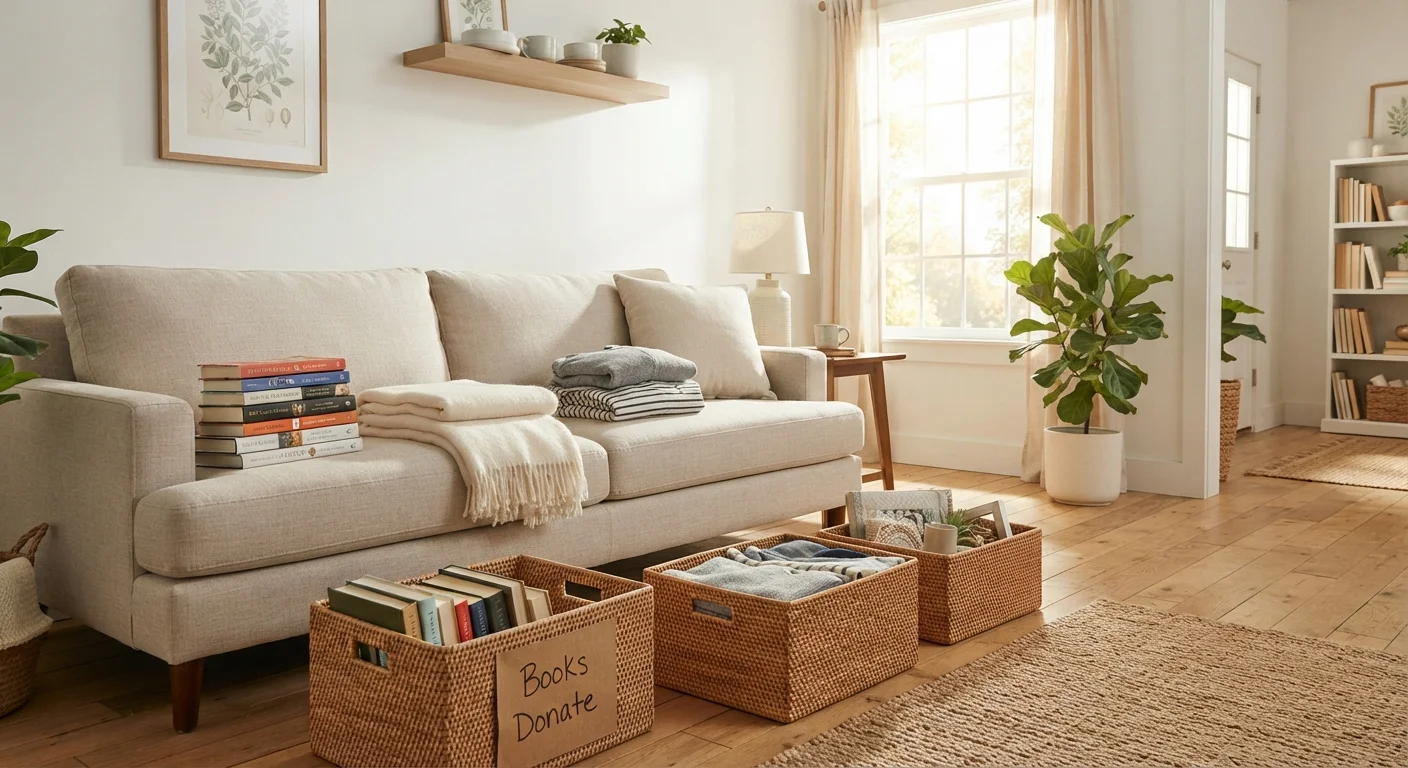
Focus on surfaces first - coffee tables, shelves, and windowsills accumulate objects that were set down temporarily and never moved. Then address media collections, books, and décor. Ask honestly: does this item have a purpose here, or is it just filling space? Aim for a room where every visible item is intentional.
Work through bedrooms
Start with the closet. Remove everything and return only what fits, is in good condition, and has been worn in the past year. Under-bed storage is a common clutter zone - pull it out, sort it, and only return what genuinely needs to be there. Nightstand drawers often hold surprising accumulations; clear them completely.
Address bathrooms and linen closets
Discard expired medications through a proper disposal program (many pharmacies accept them - check locally). Thin out towels, keeping two to three sets per person. Go through personal care products and remove anything dried out, expired, or unused. Linen closets often hold far more than any household needs; keeping sets together in their own pillowcase makes organization easier.
Finish with storage areas
Garages, basements, and storage closets are where things go to be forgotten. Work in zones - tools, seasonal items, sports gear, boxes - rather than trying to process everything at once. Be especially honest here: many stored items are kept out of guilt or vague future plans. If it hasn't been used in two or more years and has no clear upcoming purpose, let it go.
Set a Timer to Stay Focused
Commit to 30-60 minute blocks per room rather than open-ended sessions. Knowing the session has a defined end makes it easier to start - and prevents decision fatigue from setting in mid-way through a drawer.
Don't Skip the Donation Step
Items you set aside to donate should leave your home within 48 hours. Bags left sitting in hallways or garages have a way of getting reopened and refilled. Keep a designated outgoing box near the door and drop it off as soon as it's full.
Keeping It Under Control Going Forward
A single decluttering session is valuable, but the real benefit comes from sustaining it. Clutter returns gradually - a few items at a time - so the most effective countermeasure is a regular, low-effort review rather than another massive overhaul.
The seasonal declutter checklist offers a structured way to reassess clothing, kitchen goods, and storage zones every few months as your needs evolve. And if you notice clutter accumulating in spots you don't typically think about - junk drawers, entryway floors, under-stair storage - the article on overlooked spaces that quietly drain household efficiency is worth a read.
The goal isn't a perfectly minimal home - it's a home where things have places, and where managing it doesn't feel like a burden.
Avoid Decluttering Other People's Belongings
In shared households, only sort through items that are clearly yours. Removing or discarding items belonging to other residents - even with good intentions - can damage trust and create conflict. See our guide to organizing shared spaces for collaborative approaches.