

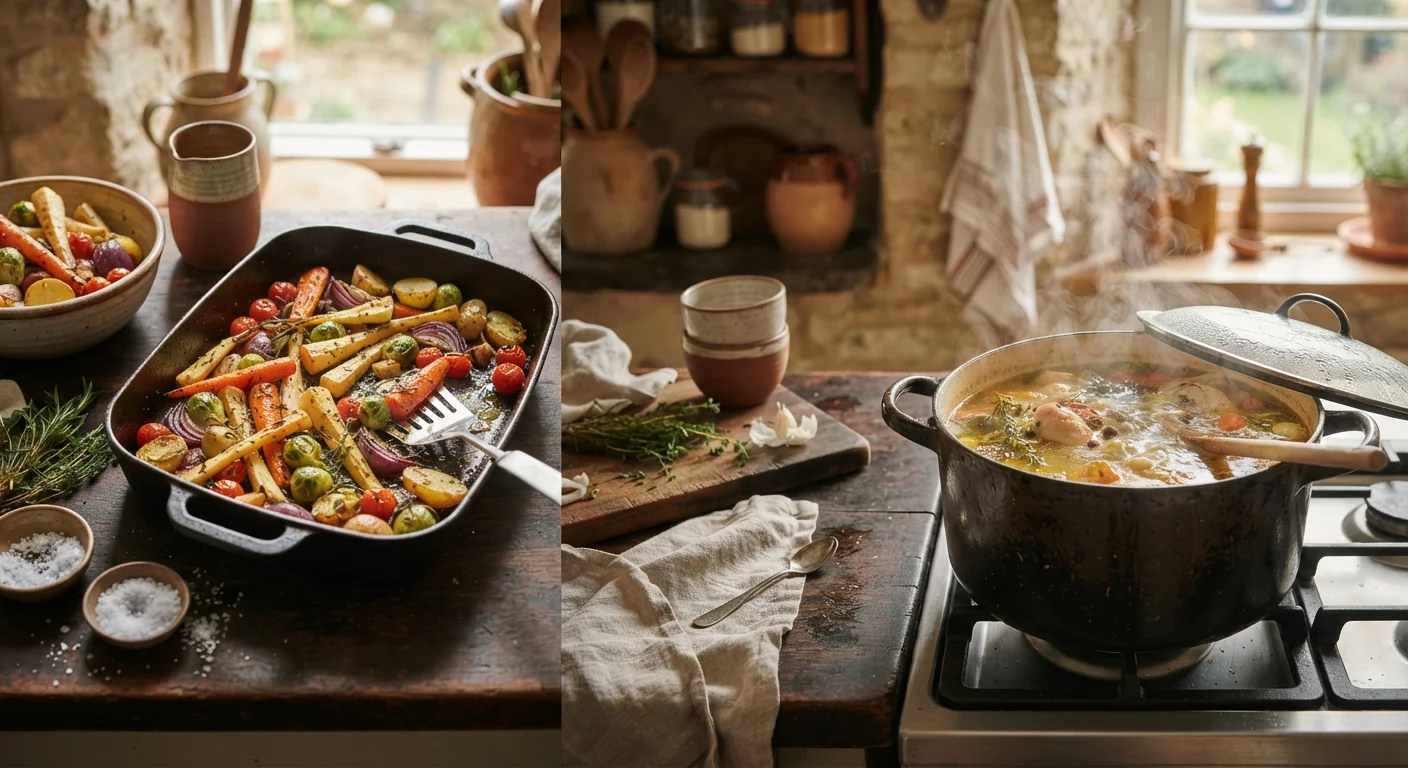
Key Takeaways
- Dry heat methods use hot air, fat, or direct flame - no added water or liquid.
- Wet heat methods rely on water, steam, or broth to transfer heat to food.
- Dry heat promotes browning (the Maillard reaction); wet heat keeps moisture in.
- Tender, collagen-rich cuts benefit most from slow wet heat like braising.
- Lean, tender proteins and most vegetables shine under dry heat techniques.
- Many recipes combine both methods - searing then braising is a classic example.
Option A
Dry Heat Cooking
The browning, crisping, and flavor-concentrating approach.
Best for: Best for achieving golden crusts, caramelized surfaces, and intensified flavors in meats, vegetables, and breads.
Option B
Wet Heat Cooking
The gentle, moisture-driven method for tender results.
Best for: Best for breaking down tough cuts, cooking delicate proteins gently, and building rich, layered flavors in soups and braises.
If you want crispy skin, a golden crust, or caramelized edges
Dry Heat Cooking
Dry heat drives off surface moisture, allowing the high temperatures needed for browning and crisping that wet methods simply cannot achieve.
If you're cooking a tough, collagen-rich cut like beef chuck or pork shoulder
Wet Heat Cooking
Low, slow, moist heat melts collagen into gelatin, transforming tough textures into fork-tender results over time.
If you're a beginner learning stovetop fundamentals
Wet Heat Cooking
Liquid in the pan acts as a buffer, making it harder to scorch food and giving you more control over temperature and timing.
If you want maximum flavor concentration with minimal fuss
Dry Heat Cooking
Roasting and sautéing evaporate water from food, intensifying natural sugars and savory compounds into deeper, more complex flavors.
What Actually Separates These Two Families
At their core, all cooking methods are just ways to move heat into food. The big question is: what's carrying that heat? If the answer is hot air, radiant energy, or fat - you're in dry heat territory. If the answer is water, steam, or broth - that's wet heat.
Dry heat methods include roasting, baking, broiling, grilling, sautéing, pan-frying, and deep-frying. Wet heat methods include boiling, simmering, poaching, steaming, braising, and stewing. A few hybrids - like braising - actually start with dry heat (a sear in a hot pan) before liquid is added, which is part of what makes them so flavorful.
The distinction matters because each approach does something fundamentally different to food's texture, appearance, and taste - and choosing the wrong one for a given ingredient can mean the difference between succulent and dry, or tender and tough.
| Criterion | Dry Heat | Wet Heat |
|---|---|---|
| Heat carrier | Air, fat, or radiant energy | Water, steam, or broth |
| Surface browning | Yes - Maillard reaction occurs | No - moisture prevents browning |
| Typical temperatures | 300°F - 500°F+ | 140°F - 212°F (water's boiling point) |
| Best cuts & ingredients | Tender meats, vegetables, bread | Tough, collagen-rich cuts; delicate proteins |
| Risk of drying out food | Higher - moisture evaporates | Lower - liquid protects the food |
| Flavor development | Concentrated, caramelized, rich | Infused, layered, broth-driven |
| Common techniques | Roast, grill, sauté, bake, fry | Braise, steam, poach, simmer, stew |
What Dry Heat Does to Food
The defining feature of dry heat cooking is the Maillard reaction - a chemical process that happens when proteins and sugars on a food's surface are exposed to high heat (generally above 280°F / 140°C). This is what creates that golden-brown crust on roasted chicken, the sear on a steak, and the toasted edges of roasted vegetables. It's also responsible for a huge portion of the complex flavors we associate with cooked food.
Dry heat also dehydrates food's surface, which concentrates flavor. Think about the difference between a raw carrot and a roasted one - the oven has driven off water and caramelized the natural sugars into something much deeper and sweeter.
Because dry heat can reach very high temperatures quickly, it's well-suited to naturally tender ingredients that don't need long cooking times: chicken breasts, fish fillets, thin cuts of beef, and most vegetables. Overcook these under dry heat, though, and they'll dry out fast.
280°F
Minimum temp for Maillard browning to begin
Food science research consistently places the start of the Maillard reaction around 280-330°F, well above boiling water's maximum of 212°F.
212°F
Maximum temperature of boiling water at sea level
Because water caps out at 212°F, wet heat methods are inherently gentler - making them ideal for collagen breakdown over long cook times.
160°F+
Temperature range where collagen converts to gelatin
Collagen begins converting to gelatin around 160-180°F when held over time, which is why long, slow braises produce such tender, silky results.
What Wet Heat Does to Food
Wet heat is the gentler of the two families, but don't mistake gentle for weak. Simmering broth or steam can absolutely cook food through - it just does it differently. Instead of creating browning, wet heat softens, hydrates, and breaks down. It's the method that turns a collagen-packed beef shank into something you can pull apart with a fork.
The key player here is collagen - the tough connective tissue found in well-worked muscles like chuck, brisket, and shoulder cuts. Collagen needs time and moisture to convert into gelatin, which is what gives slow-cooked dishes their silky, rich texture. A high roasting temperature would dry that cut out before the collagen ever had a chance to break down.
Wet heat also makes it easier to infuse food with flavor. When you poach chicken in seasoned broth, or braise short ribs in red wine, the liquid becomes part of the dish. For a deep dive into the liquid-cooking spectrum, see our guide on boiling, simmering, and poaching - temperature differences in that range matter more than most beginners expect.
Putting Both Methods to Work in Real Cooking
Understanding these two families helps you decode recipes more confidently. When a recipe tells you to sear a roast before adding liquid to the pot, it's deliberately crossing both methods - the sear builds Maillard-reaction flavor, and the braise finishes the cooking gently. This is one of the most reliable tricks in home cooking.
A few practical guidelines worth keeping in mind:
- Lean cuts (chicken breast, fish, pork loin): generally better with dry heat at controlled temperatures, or gentle wet heat like poaching.
- Tough, fatty cuts (chuck, brisket, lamb shoulder): almost always benefit from slow wet heat - braising or stewing.
- Root vegetables: thrive under either method; roasting concentrates their sweetness, boiling or steaming keeps them light and neutral.
- Delicate greens and thin vegetables: quick dry heat (sauté) or brief steaming prevents them from going mushy.
Once you start recognizing these patterns, reading a recipe becomes a different experience entirely. Our guide on reading a recipe like a cook covers how to think through a recipe before you start - including spotting which heat family is doing the heavy lifting.
Hybrid Methods: The Best of Both
Some of the most beloved cooking techniques deliberately combine both heat families. Braising starts with a high-heat sear (dry) to build flavor, then finishes in liquid (wet) to tenderize. Similarly, some bread recipes use steam injection in the early stages of baking to control crust development. Recognizing these hybrids helps you understand why recipes are written the way they are - not as arbitrary steps, but as a deliberate sequence.
And when a recipe calls for broth or stock, the choice between them can subtly shift a dish - something worth understanding separately. Our breakdown of stock vs. broth explains when the distinction matters and when it doesn't.