

Key Takeaways
- Successful composting requires balancing carbon-rich 'browns' and nitrogen-rich 'greens' in roughly a 3:1 ratio.
- Moisture and aeration are the two most controllable factors in how quickly compost breaks down.
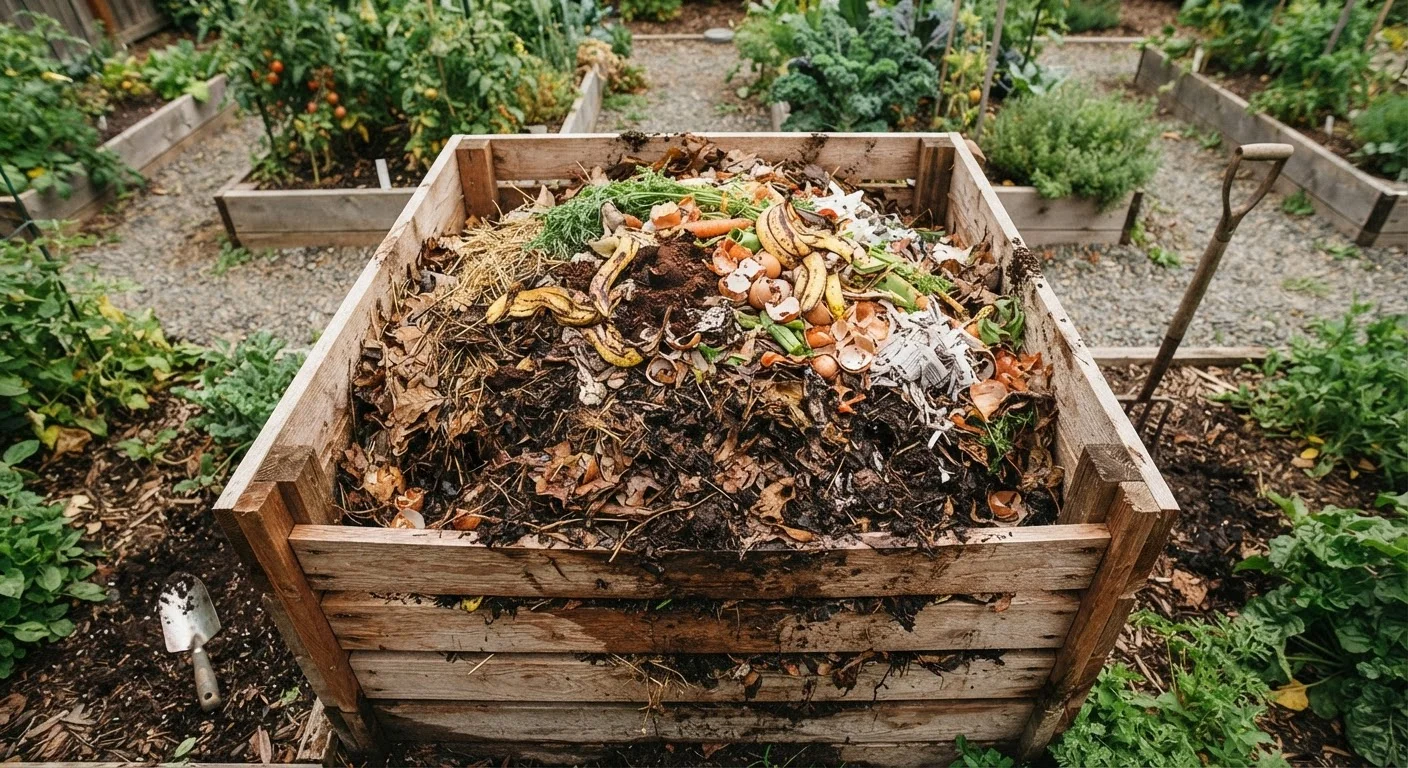
- Finished compost looks dark, crumbly, and smells earthy - not like rotting food.
- Most home compost bins produce usable material in two to six months under active management.
- Certain materials - including meat, dairy, and diseased plants - should never go into a home compost pile.
What you will need
Why Composting Is Worth the Effort
Composting closes a loop that most households leave open: organic material that would otherwise go to a landfill gets transformed into a soil amendment that genuinely improves garden health. Finished compost introduces beneficial microbes, improves drainage in clay soils, increases water retention in sandy soils, and provides a slow-release source of nutrients - all without synthetic inputs.
If you're curious about what exactly happens beneath the surface when compost meets garden soil, our guide to soil health explains the microbial and structural processes at work. For gardeners just getting started, starting a garden from scratch pairs naturally with building your first compost system.
The investment is modest - a suitable bin, a pitchfork, and consistent attention. The return is a renewable supply of one of the most useful materials a home gardener can have.
What you will need
What You'll Need
Before you begin, gather the tools and materials below. Most are inexpensive or already available in a typical household or yard.
Compost Bin or Tumbler
Contains materials, retains heat, and keeps pests out while decomposition occurs.
Garden Fork or Pitchfork
Used to turn and aerate the pile, introducing oxygen that feeds decomposer microbes.
Kitchen Compost Pail
A countertop container for collecting food scraps before transferring them to the outdoor bin.
Garden Hose or Watering Can
Used to add moisture to a dry pile and maintain ideal decomposition conditions.
Compost Thermometer
Measures internal pile temperature to confirm active decomposition is occurring.
Once your setup is ready, follow the steps below to build and maintain a productive compost system from day one.
Choose and Set Up Your Composting System
Select a location that receives partial sun, has good drainage, and is reasonably accessible from your kitchen and garden. A spot at least 10 feet from your home's foundation is a practical baseline.
Decide on your system: an open pile works but loses heat faster; a three-sided wooden bin retains heat well; a tumbler offers the fastest breakdown and best pest resistance. Whatever you choose, aim for a volume of at least one cubic yard (3 ft × 3 ft × 3 ft) - smaller piles struggle to generate the heat needed for active decomposition.
Understand Browns vs. Greens
Effective composting depends on balancing two categories of material:
- Browns (carbon-rich): Dried leaves, cardboard, newspaper, straw, paper bags, and wood chips. These provide the carbon that feeds decomposer microbes and prevents odor.
- Greens (nitrogen-rich): Fruit and vegetable scraps, coffee grounds, grass clippings, and fresh plant trimmings. These supply the nitrogen that accelerates breakdown.
A general target ratio is about 3 parts browns to 1 part greens by volume. You don't need to measure precisely - just make sure browns are always the dominant layer.
Build Your Initial Pile in Layers
Start with a 3-4 inch base layer of coarse browns (wood chips or small twigs) to promote airflow from the bottom. Then alternate layers:
- A 2-3 inch layer of greens (kitchen scraps or fresh yard waste)
- A 4-6 inch layer of browns (shredded leaves, cardboard)
- Optional: a thin dusting of finished compost or garden soil to introduce active microbes
Repeat these layers as you add material over time. You don't need to build the entire pile at once - the layered approach applies each time you add new scraps.
Manage Moisture and Aeration
After building each layer, check that the pile feels like a wrung-out sponge - moist throughout but not waterlogged. Squeeze a handful: a few drops of water is ideal; no moisture means it's too dry; dripping means too wet.
Turn the pile with a garden fork every one to two weeks, moving material from the outer edges into the center. This introduces oxygen, which is essential for aerobic decomposition - the type that works quickly and without bad odors.
Monitor for Heat and Activity
An actively decomposing pile will feel noticeably warm in the center - sometimes hot enough to produce visible steam on a cold morning. Internal temperatures between 130°F and 160°F indicate healthy, fast decomposition and are sufficient to neutralize most weed seeds and pathogens.
If your pile is cool and not shrinking, it likely needs more nitrogen (greens), more moisture, or more frequent turning. A compost thermometer can help you track this without guesswork.
Recognize Finished Compost and Harvest It
Compost is ready to use when it looks dark brown or black, has a loose crumbly texture, and smells like fresh earth - not like food or rot. You should no longer be able to identify individual ingredients. This typically takes two to six months with active management, or longer if the pile is left undisturbed.
To harvest, stop adding new material and allow the pile to finish fully. Use a garden fork to pull finished compost from the bottom or center. Any partially broken-down material can go back into a new pile to continue decomposing.
Speed Things Up With a Simple Trick
Chopping or shredding materials before adding them to the bin dramatically increases the surface area available to microbes, accelerating breakdown. Torn cardboard, crushed eggshells, and chopped vegetable scraps will decompose noticeably faster than whole pieces. A simple kitchen shear or garden shredder makes quick work of this.
Never Compost These Materials
Meat, fish, bones, dairy products, oily foods, pet waste, and diseased plant material should never go into a home compost bin. These items can attract pests, introduce pathogens, and create persistent odor problems. Stick to plant-based kitchen scraps and yard trimmings to keep your pile safe and functional.
Troubleshooting Common Compost Problems
Even well-managed piles run into occasional issues. Here's how to address the most common ones:
- Bad odor (rotten egg smell): The pile is too wet or compacted. Turn it thoroughly and add dry browns to improve drainage and airflow.
- Pile not breaking down: Usually too dry, too much carbon, or too small. Add greens, water, and turn more frequently.
- Pests or animals getting in: Avoid adding any food scraps that aren't plant-based, and consider switching to a sealed tumbler or a bin with a locking lid.
- Pile smells like ammonia: Too much nitrogen. Add browns and turn the pile to release trapped gases.
Watch Your Pile's Moisture Level
A compost pile that is too wet will become anaerobic and produce foul odors; one that is too dry will stall completely. Aim for the moisture level of a wrung-out sponge - damp throughout but not dripping. If your pile smells like ammonia or rotten eggs, adjusting moisture and aeration is the first corrective step.
Compost troubleshooting is mostly a matter of rebalancing the same few variables. If your pile stalls, work through moisture, aeration, and ratio adjustments before assuming something is fundamentally wrong.
Once your compost is ready, work it into garden beds each season. Pairing this practice with smart seasonal garden care - like the steps outlined in our fall garden prep guide - keeps your soil building year-round.